React
Easily add United Effects to your React app!
Create React App
For this Tutorial we will be using Create React App to create our React App. To get started, run the following (replacing my-app with whatever you'd like to call your app). Note: this creates uses the Typescript template. If you prefer Javascript you can omit --template typescript The source code for this tutorial is available at https://github.com/UnitedEffects/ue-auth-create-react-app.
npx create-react-app my-app --template typescript
Upon completion, you'll be prompted to run the following to get the app running:
cd my-app
npm start
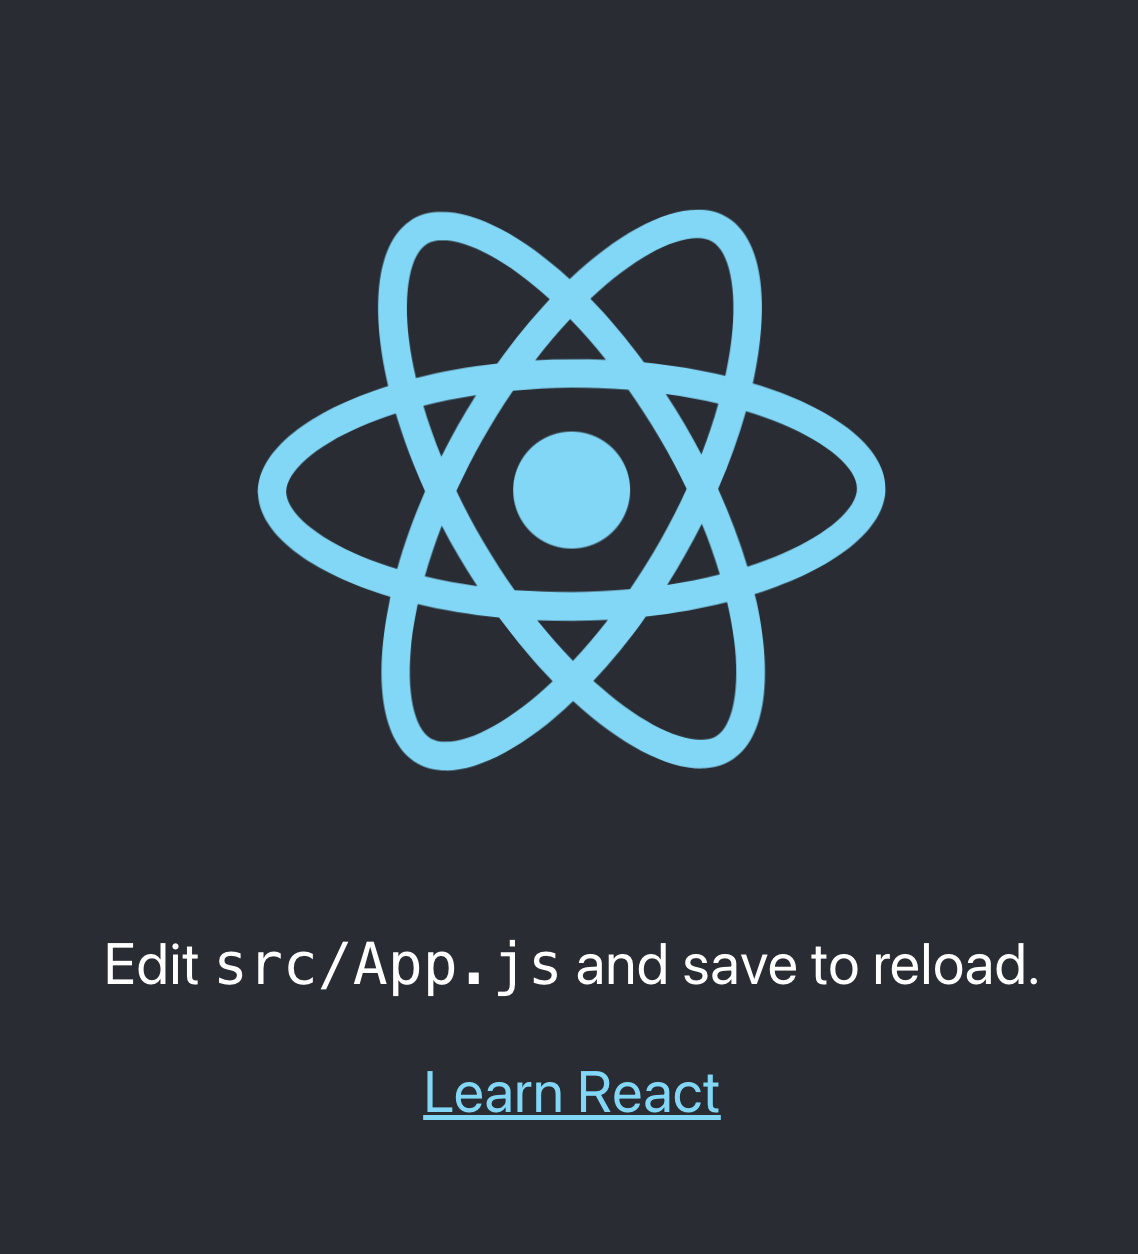
This should launch a browser pointing to your app and you should see something like the following:
In order to fully test our UE Auth integration, we will need to have your React app publicly available via https. Some options are deploying to Vercel or using a tool like ngrok. For the rest of this tutorial we are going to reference a site deployed on Vercel that is publicly available here.
Configure React App
Next, we are going to add a package to help us manage our UE Auth integration. @axa-fr/react-oidc is an excellent library that is going to do all the heavy lifting. Let's install it by following their instructions:
npm install @axa-fr/react-oidc --save

# To install or update OidcServiceWorker.js file, you can run
node ./node_modules/@axa-fr/react-oidc/bin/copy-service-worker-files.mjs public

# If you have a "public" folder, the 2 files will be created :
# ./public/OidcServiceWorker.js <-- will be updated at each "npm install"
# ./public/OidcTrustedDomains.js <-- won't be updated if already exist
This will install the package and create the necessary files in the public folder. Let's edit OidcTrustedDomains.js to something like the below (replace <https://ue-auth-create-react-app.vercel.app> with the url where your app is publicly available):
// OidcTrustedDomains.js

// Add below trusted domains, access tokens will automatically injected to be send to
// trusted domain can also be a path like https://www.myapi.com/users,
// then all subroute like https://www.myapi.com/useers/1 will be authorized to send access_token to.

// Domains used by OIDC server must be also declared here
const trustedDomains = {
  default: [
    "https://ue-auth-create-react-app.vercel.app/", // this should be the public url where your app is available
    "https://auth.unitedeffects.com/",
    new RegExp("^(https://[a-zA-Z0-9-]+.domain.com/api/)"),
  ],
};
Next, edit index.tsx to the following:
import React from "react";
import ReactDOM from "react-dom/client";
import "./index.css";
import App from "./App";
import reportWebVitals from "./reportWebVitals";
import { OidcProvider } from "@axa-fr/react-oidc";

// This configuration use the ServiceWorker mode only
// "access_token" will be provided automaticaly to the urls and domains configured inside "OidcTrustedDomains.js"
const configuration = {
  client_id: process.env.REACT_APP_UE_CLIENT_ID || "",
  redirect_uri: window.location.origin + "/authentication/callback",
  silent_redirect_uri:
    window.location.origin + "/authentication/silent-callback", // Optional activate silent-signin that use cookies between OIDC server and client javascript to restore the session
  scope: "openid email username offline_access access",
  authority: process.env.REACT_APP_UE_AUTHORITY || "",
  service_worker_relative_url: "/OidcServiceWorker.js",
  service_worker_only: true,
};

const root = ReactDOM.createRoot(
  document.getElementById("root") as HTMLElement
);
root.render(
  <React.StrictMode>
    <OidcProvider configuration={configuration}>
      <App />
    </OidcProvider>
  </React.StrictMode>
);

// If you want to start measuring performance in your app, pass a function
// to log results (for example: reportWebVitals(console.log))
// or send to an analytics endpoint. Learn more: https://bit.ly/CRA-vitals
reportWebVitals();
Breaking this down, our configuration object sets the following:
client_idis set to use aREACT_APP_UE_CLIENT_ID, an environment variable that will be set to a client id you configure later in this tutorialauthorityis set to use aREACT_APP_UE_AUTHORITY, an environment variable that will be set to a client id you configure later in this tutorialscopeis set toopenid email username offline_access accesswhich is slightly different from the base examples provided by@axa-fr/react-oid
Finally, update App.tsx to this:
import logo from "./logo.svg";
import "./App.css";
import { OidcUserStatus, useOidc, useOidcUser } from "@axa-fr/react-oidc";

function App() {
  const { login, logout, isAuthenticated } = useOidc();

  const DisplayUserInfo = () => {
    const { oidcUser, oidcUserLoadingState } = useOidcUser();

    switch (oidcUserLoadingState) {
      case OidcUserStatus.Loading:
        return <p>User Information are loading</p>;
      case OidcUserStatus.Unauthenticated:
        return <p>you are not authenticated</p>;
      case OidcUserStatus.LoadingError:
        return <p>Fail to load user information</p>;
      default:
        return (
          <div>
            <div>
              <h5>User information</h5>
              <p>{JSON.stringify(oidcUser, null, 2)}</p>
            </div>
          </div>
        );
    }
  };

  return (
    <div className="App">
      <header className="App-header">
        <img src={logo} className="App-logo" alt="logo" />
        <DisplayUserInfo />
        {!isAuthenticated && (
          <button type="button" onClick={() => login("/profile")}>
            Login
          </button>
        )}
        {isAuthenticated && (
          <button type="button" onClick={() => logout()}>
            logout
          </button>
        )}
      </header>
    </div>
  );
}

export default App;
This adds the login, logout, and isAuthenticated hooks provided by useOidc, allowing us to show either a Login or a Logout button based on whether or not the user is authenticated. It also adds oidcUser and oidcUserLoadingState hooks from useOidcUser to help us conditionally show the user info.
Configure UE Auth
Tip
If you don't have a United Effects platform already, you can create one here
Create your product
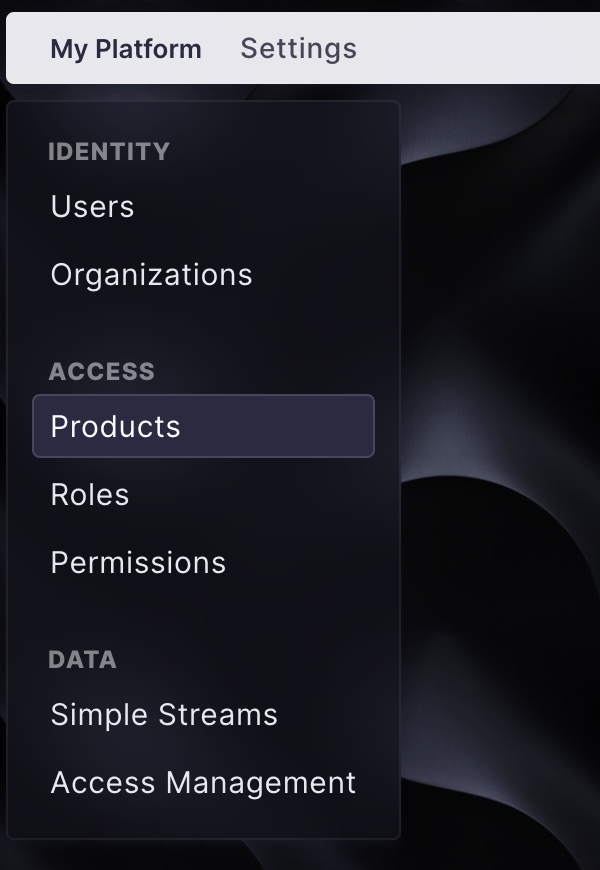
From your Core EOS desktop, click Products
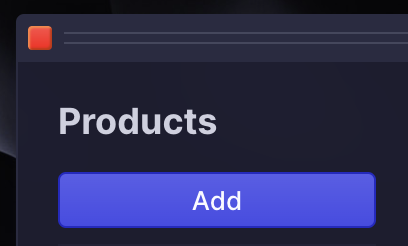
Click Add
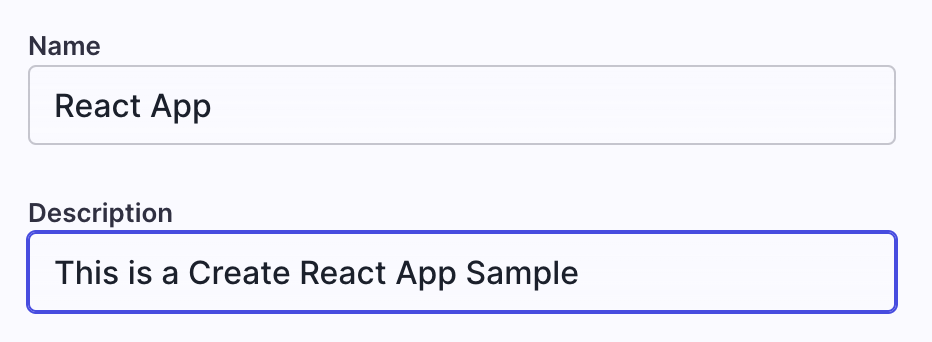
Give your product a name and a description and click Submit.
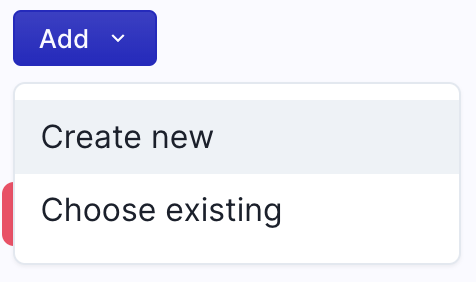
Now add a service to your product. Click Add then Create New
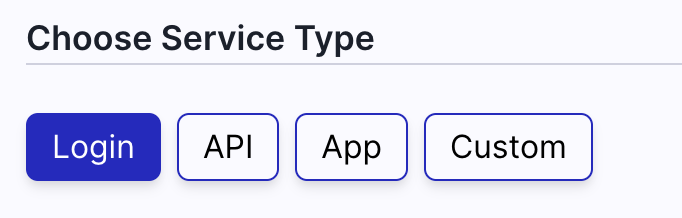
Under Choose Service Type click Login. This will configure your service with some default values. Feel free to change the values as you see fit.
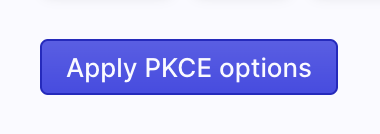
Now Click Apply PKCE options
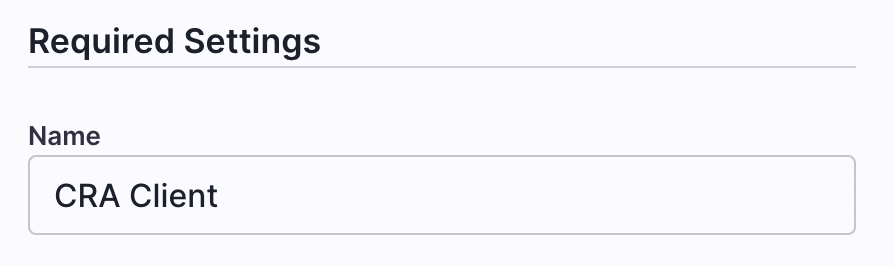
Give your service a name (anything will do):
Now we need to setup the Redirect URI. Your Redirect URI is your publicly facing url appended by /authentication/callback. In our example this is <https://ue-auth-create-react-app.vercel.app/authentication/callback> Enter your Redirect URI and click Add

Scroll down and click Add Service
You've created your service and associated it to your product!
Now you'll need to configure your app's settings. The following secrets need to be set:
REACT_APP_UE_CLIENT_ID=
REACT_APP_UE_AUTHORITY=
If you're using Vercel you can find instructions here
You can grab your Client ID here:

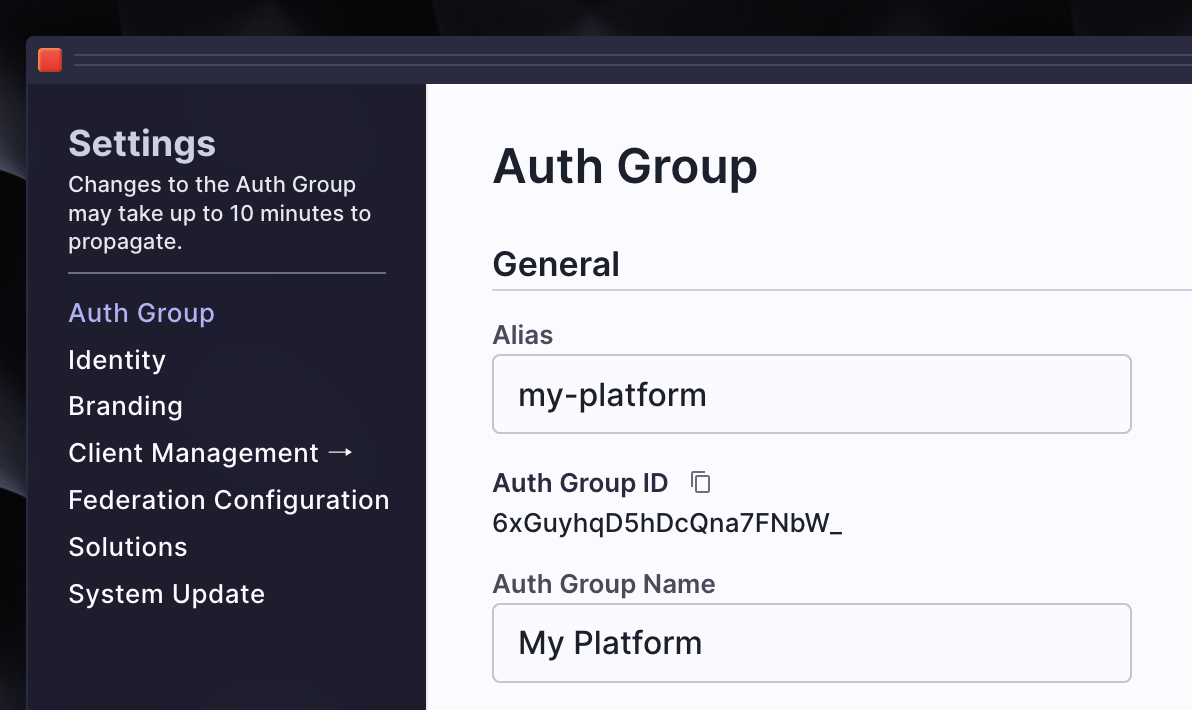
The authority is https://auth.unitedeffects.com/{your-auth-group-id} You can find your Auth Group ID by clicking Settings and copying the Auth Group ID.
You've set up auth for your React App!
Make sure you redeploy your app. You should see something like this:
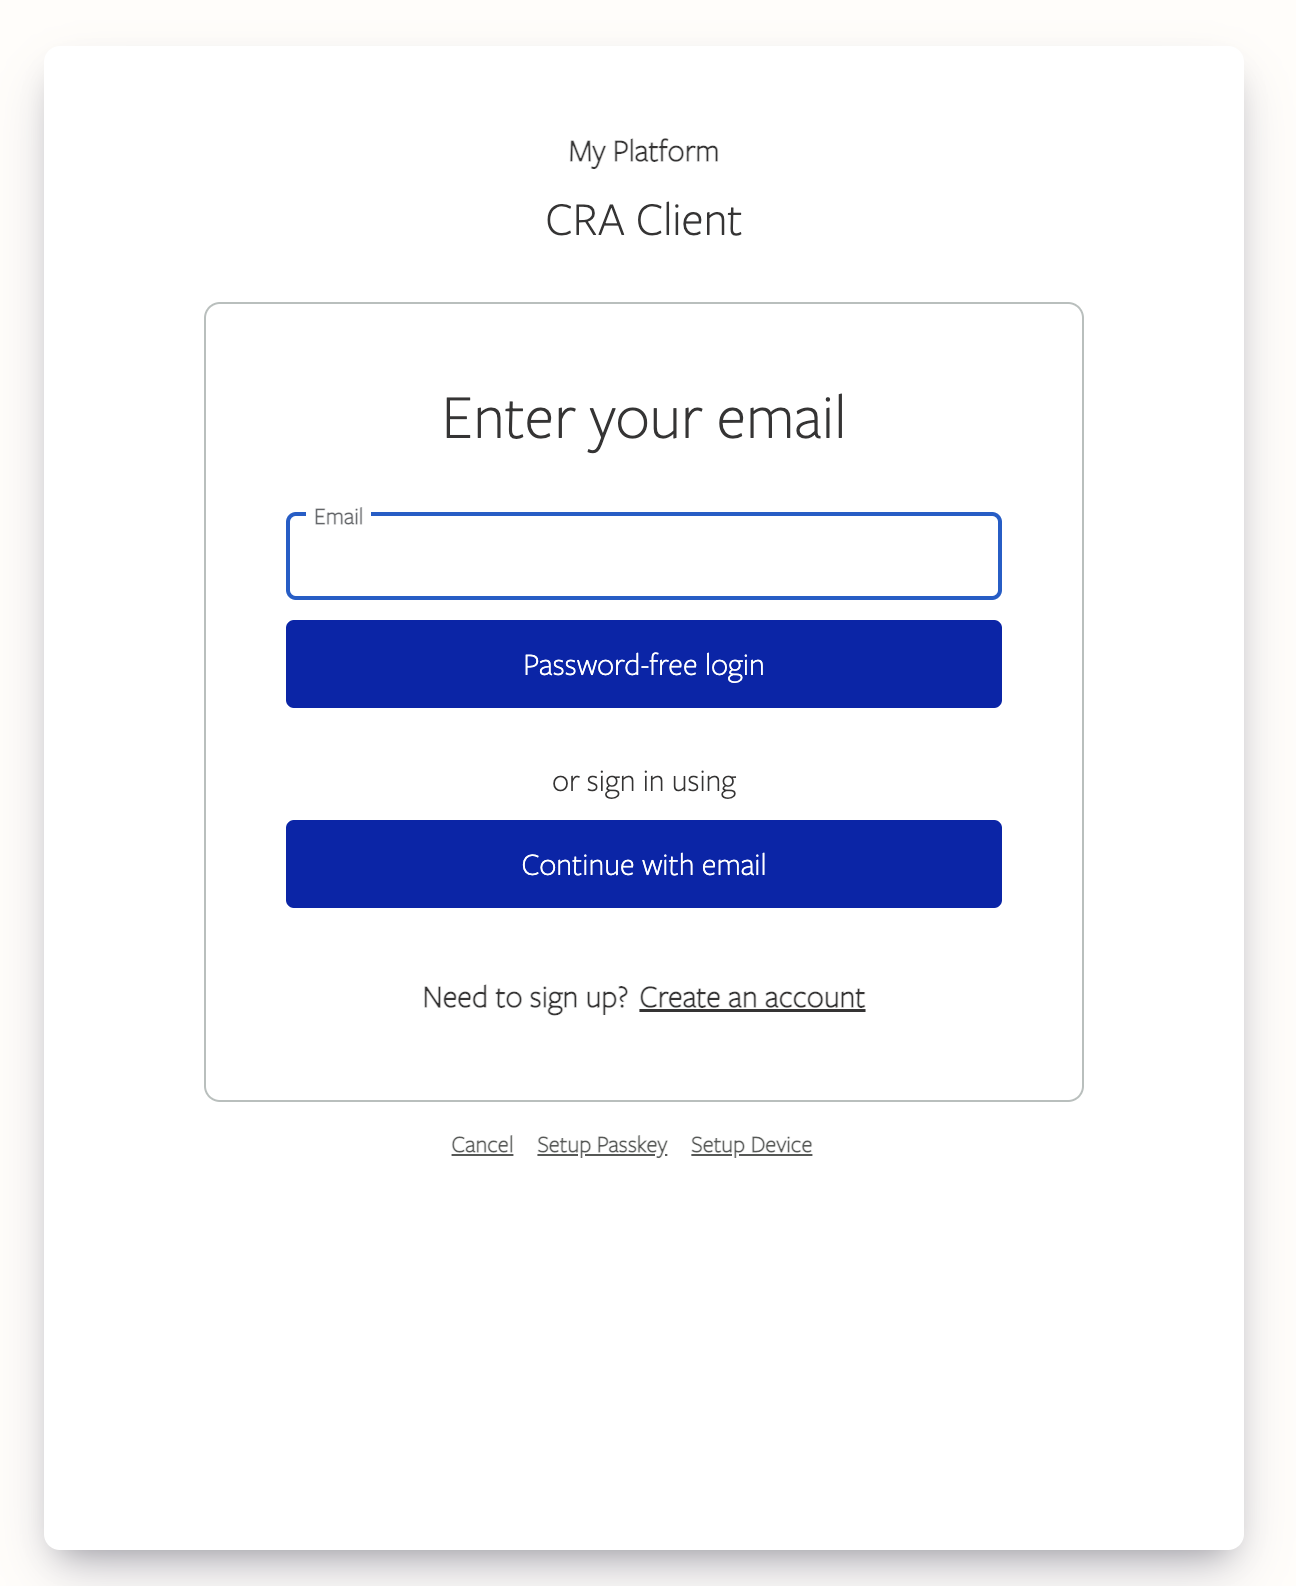
Click Login, you should see a login screen similar to this one:
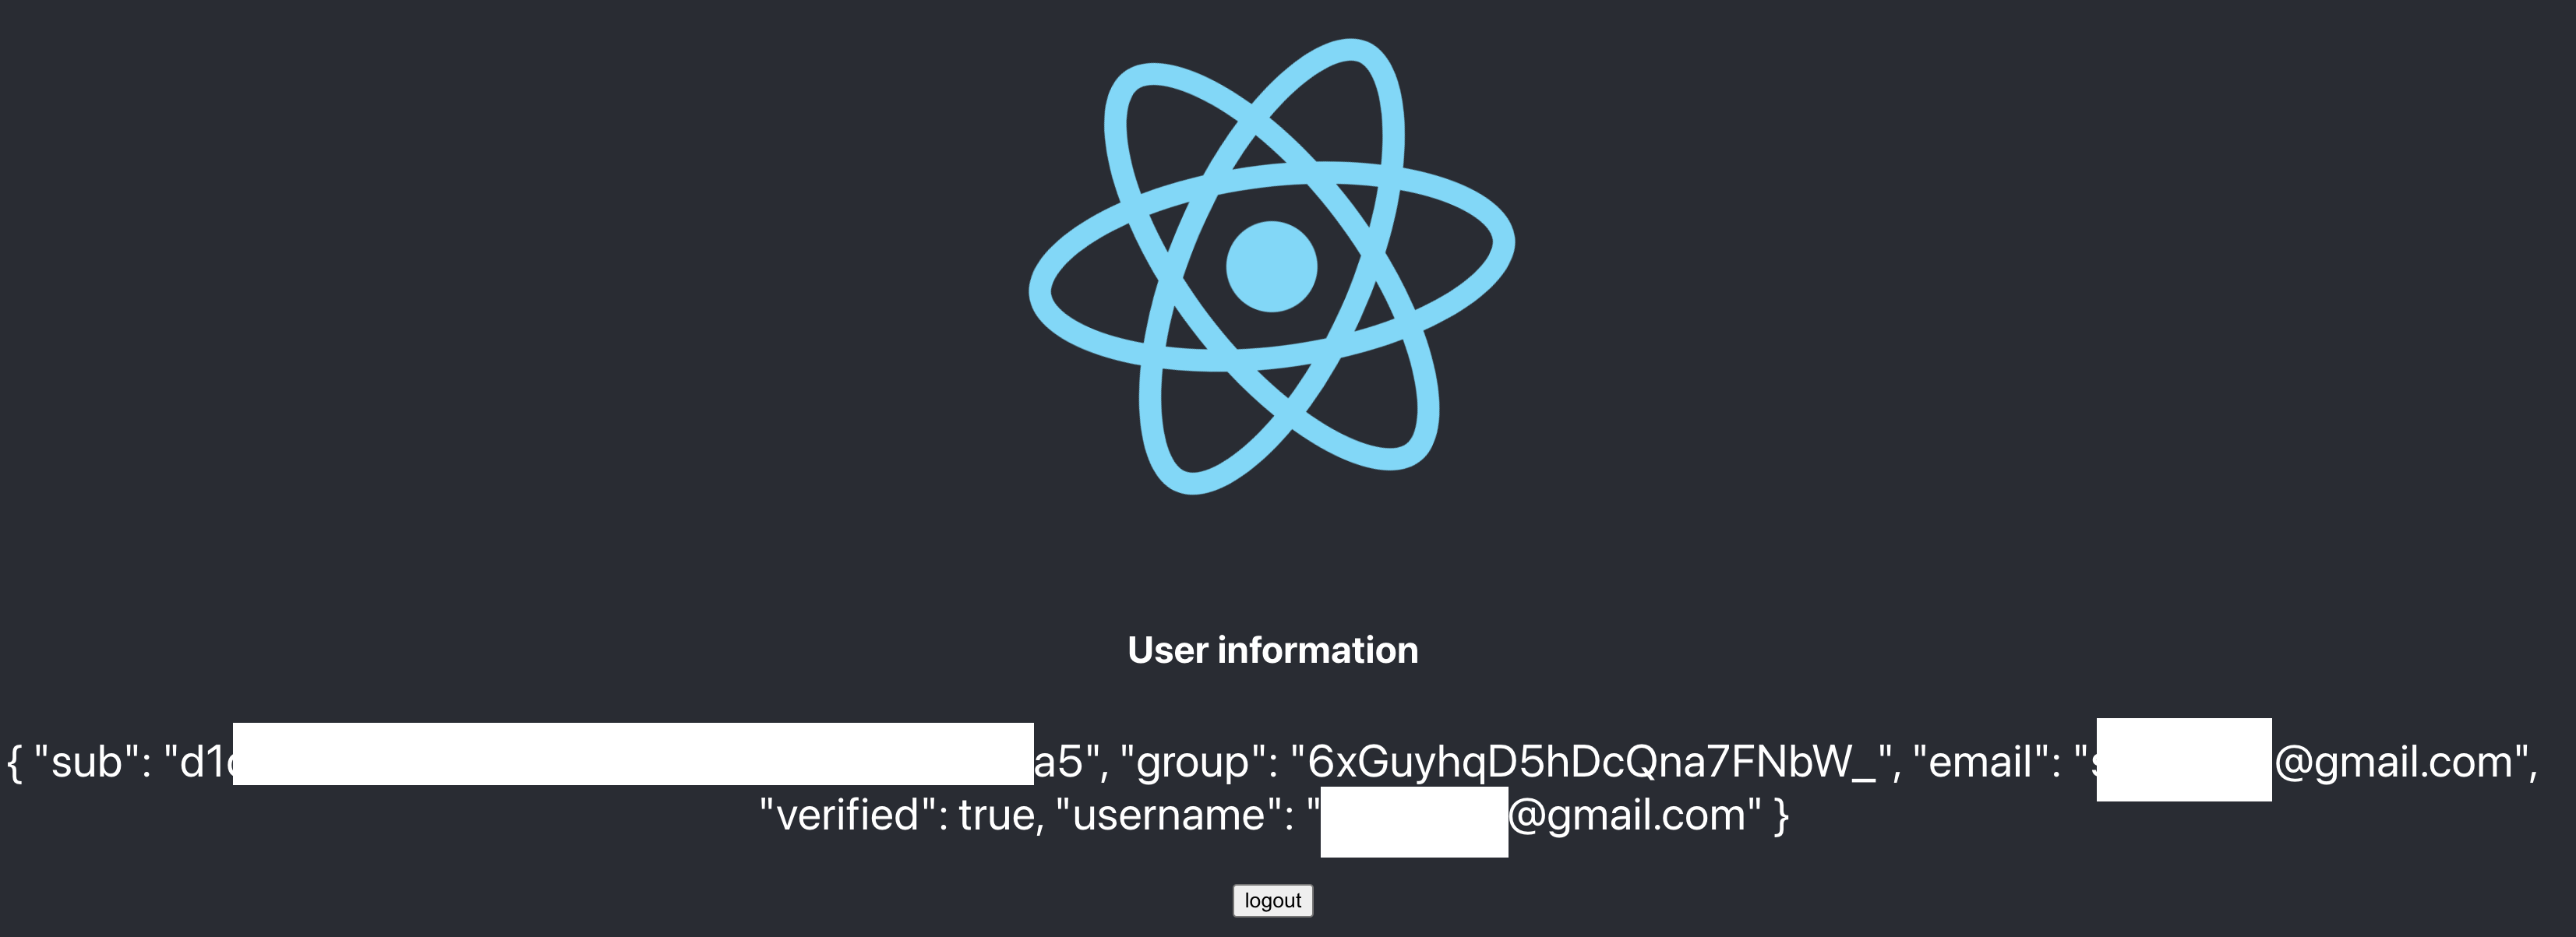
After logging in you will be redirected back to your app. You should see your user information along with a logout button. You've successfully integrated UE Auth into your React app!
The source code for this tutorial is available at https://github.com/UnitedEffects/ue-auth-create-react-app.
Updated about 1 year ago